For the last several years (pretty much since we bought our house in 2009) I’ve been expanding my Christmas decor beyond the tree in hopes of someday having my home exude the notion that “Christmas threw up in here.” But, it’ll be beautiful and perfect and traditional with a twist type of puke not gross puke–so, we’re clear. =/ If you know me you know that a. I’m incredibly frugal and b. I’m incredibly crafty. So, last year whilst bargain shopping the Christmas aisles (after Christmas of course when it’s all at least 50% off) I found this gem. It’s something I’d been eyeing earlier (before after Christmas clearance) but was waaay too cheap to pay $20 for it. I think I paid $10 for it but, it could have been $5. I’m not sure. Either way it was a win for me. I took it home stuck in a storage tote and forgot about it until last week when I pulled it out of said tote.
It was then that I noticed how lackluster and boring it was compared to the the rest of my decor. Don’t get me wrong, it’s pretty BUT it wasn’t pretty enough. And, so, I did what any crafter and DIYer would do. I pulled out my hot glue gun (aka my nemesis) and a slew of wreath makings (that I buy at Michael’s and Joann’s) and set to work. 
When I start things like this I usually have an idea of what I’m going to do–not an exact plan, just an idea –from there I kind of do whatever and go with it and if it works it works and if not, I rip it off and try something else. In this case my idea was that I wanted an off centered focal point and so that’s what I started with by layering a few pieces from a couple of different stems.

Something to keep in mind when you’re working with floral things like this is that you never have to use the whole thing. They are pieced together and can easily be taken (or cut) apart. I wanted to add something a bit more bushy as my next piece on the wreath and the one I chose had two clusters of berries that I didn’t want. They easily pulled off and I was able to use just the foliage part of it.

I also usually always place things first and glue second. This is just to ensure that I like the placement of it. In this photo I’m sliding the stem into place.

Then I make sure that I like what I see.

And then I glue (if you look hard you can see the glob of glue 😉 ).

Want this poinsettia as the center of my focal point.
 But don’t want the stem.
Place and glue.


Looking at it makes me think I need some red accents to break up all the silver I have.

From these two stems I cut a few pieces.

And put them in place between my silver layers.

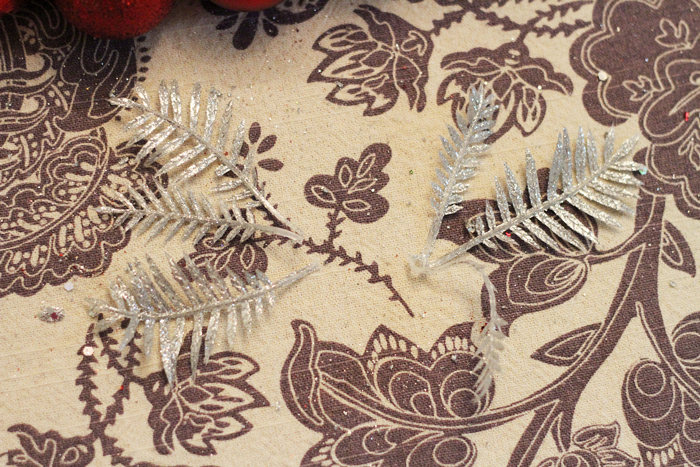
Now, I want to add some silver foliage coming off of the left side of my poinsettia. But, I don’t want a lot so I pulled a piece off of the bushy stem that I showed you earlier.

And cut it in half.
Place, then glue.

Accent with red and done. With that part, anyways.

The next thing I wanted to do was embellish the rest of the wreath. I did that with these things. I believe they were a whopping $`1.29 a piece and %50 off of that (so, seriously, dirt cheap).

I took the balls off either one at a time or two at a time (and twisted the stems together).

and glued them wherever they’d fit–while also keeping the wreaths balance–until they were gone.

And then, I was done. And I’m kind of in love with it.

And for fun, I’ll remind you what it looked like when I started:
A pretty awesome makeover for very little money.
